SmartSTREAM Startup Guide
Return to the User Support Site TopRecord Live Streams
When performing live streaming, recording can be performed on the server side.
There are two recording methods: recording the entire live stream and recording a portion of the live stream.
Record the Entire Live Stream From Start to Finish
Use the Live TO File feature.
-
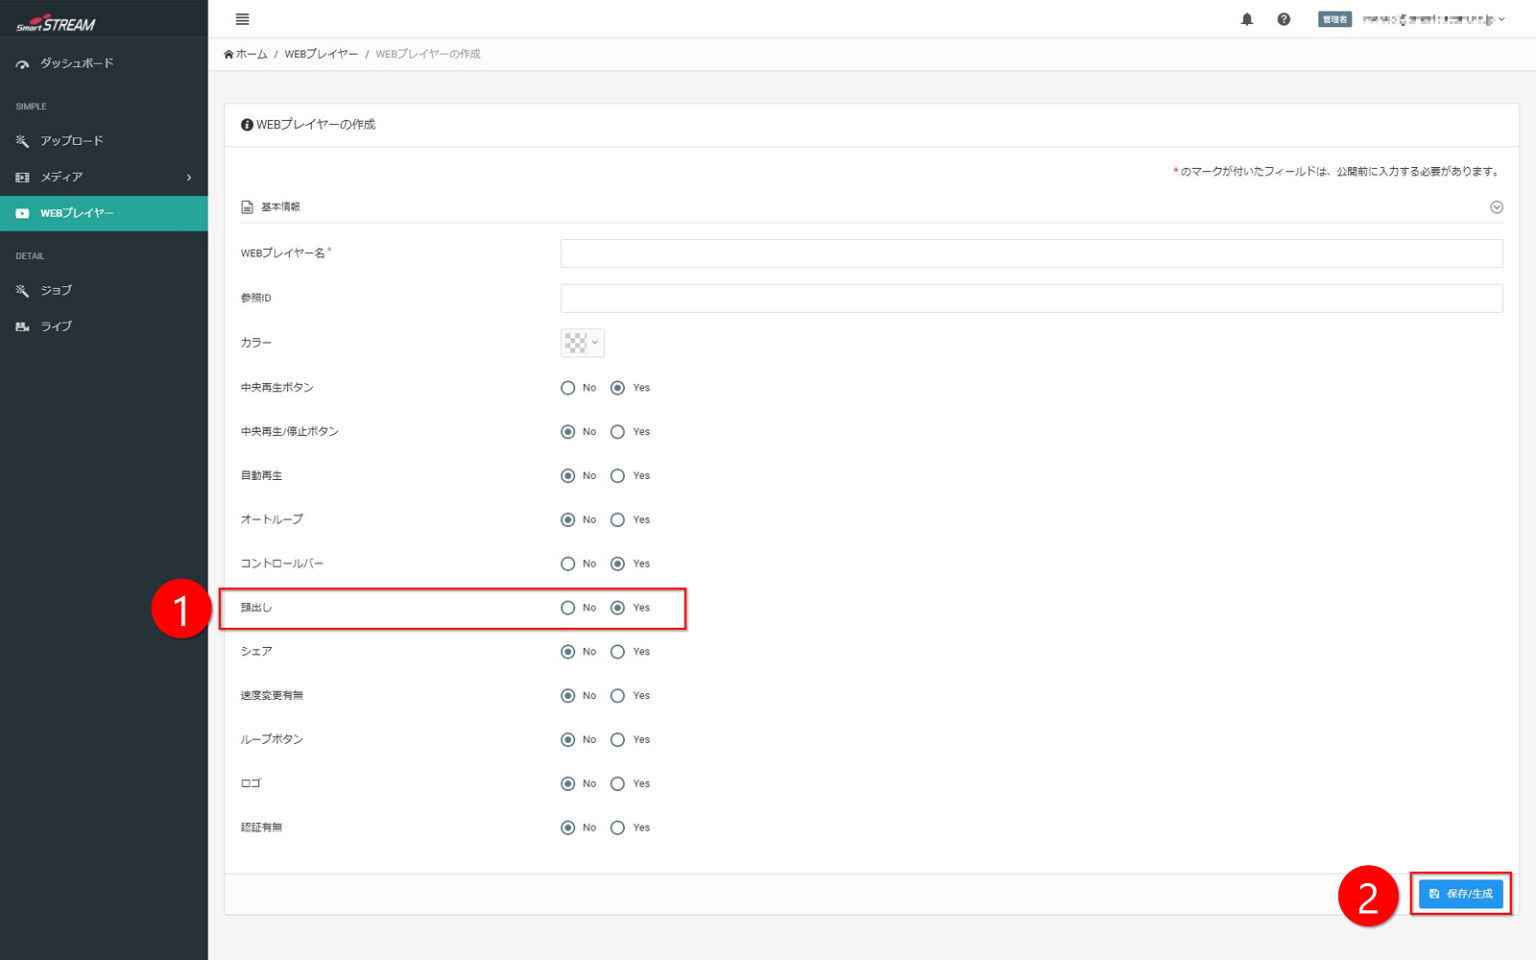
Home>Web Player>Create Web Player: set Seek to "Yes".
-
Click Save / Generate.
-

Home>Live>Create Live Event: set Live TO File to "Yes".
-
Click Save.
-
Start the live stream.
To start the live stream, refer to "Live Stream Video">"Create a Live Event".
- After the live stream ends, a media item with the live event name is created under "Media".
- After the live stream, on-demand streaming can be continued using the same Streaming Web Player (viewing URL, etc.).
After the live stream ends, processing is required before the media is created and becomes viewable, so this may take some time.
Record a Portion of the Live Stream
Use the Video Clip feature. Specify the recording range by date and time.
-
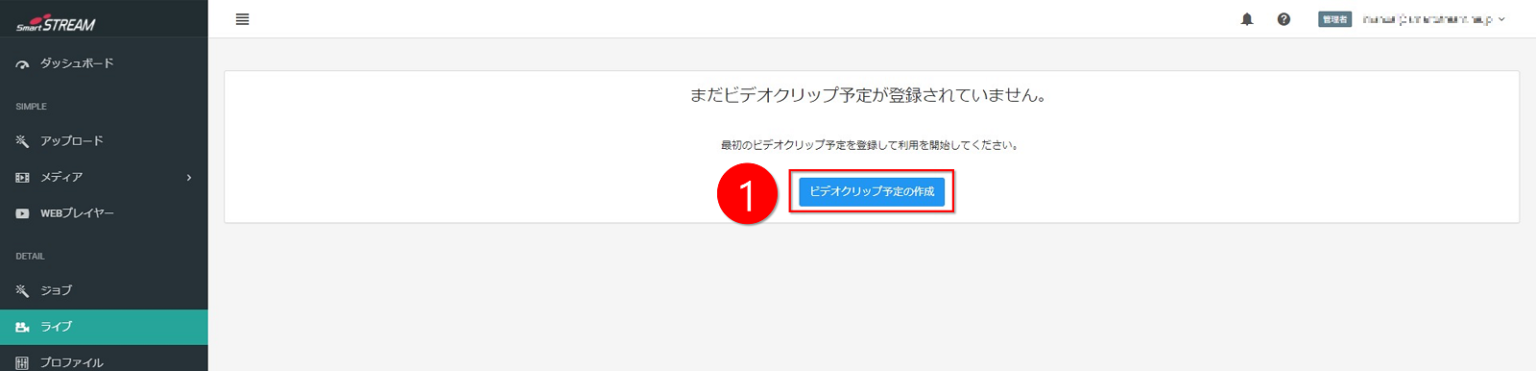
Click Create Video Clip Schedule on the Home>Live tab.
-
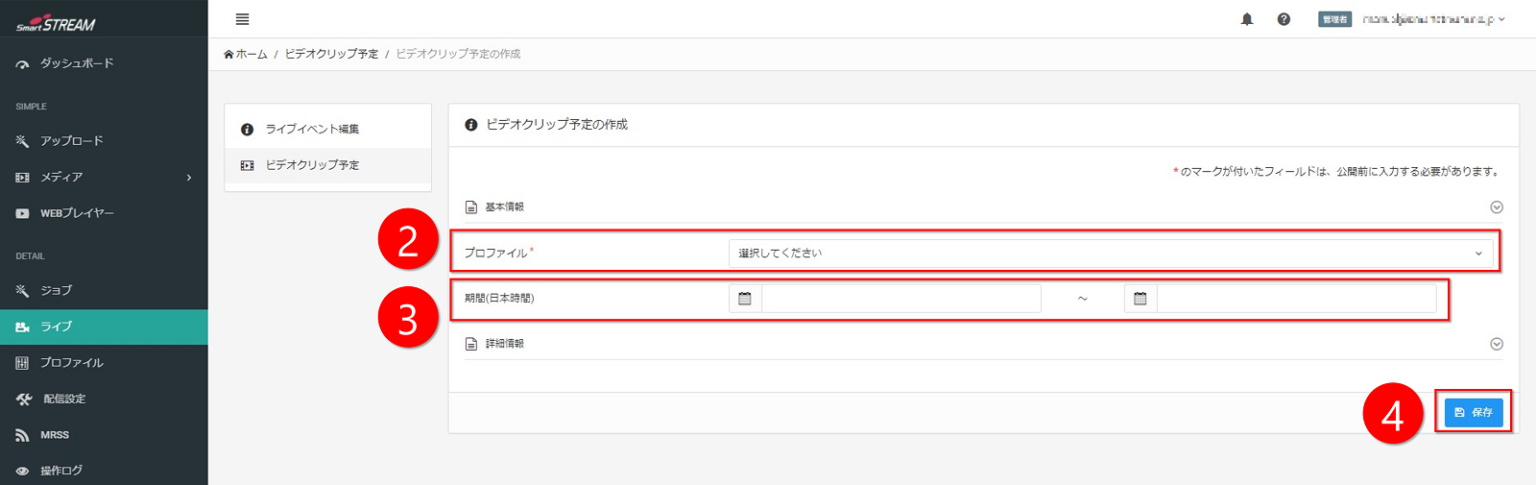
Select the profile to use.
-
Select the recording period.
-
Click Save.
- It is recommended that both the start and end times be set longer than the desired recording period.
- If the live stream is stopped before the period set in the Video Clip, the video clip will not be saved.
- After the live stream ends, a media item with the live event name is created under "Media".
- To stream media recorded using a video clip on demand, configure "Video On-Demand Streaming">"Link Video and Web Player".
After the live stream ends, processing is required before the media is created and becomes viewable, so this may take some time.